Using Image Fields
Image fields may have different names ("Main image" and "Images" are a few), but they all work in a similar way.
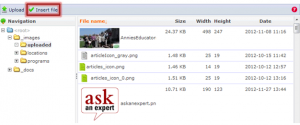
Clicking the Browse link will open the file browser (in Drupal, this browser is known as IMCE, though you probably will not run across the name anywhere else). From here, you can navigate to any folder (on the left) and select any image (on the right.)
When you’ve clicked on the image you want to use, click “Insert File.” For more ways to use the File Browser (including uploading images and creating folders), see "Using the File Browser".
You will be taken back to the edit form.
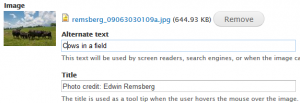
Once an image has been uploaded, you will see some new fields to provide more information about the image: Alternate Text is available on every image field, and Focus Rectangle and Crop Rectangle are only on certain content types.
Alternate Text
Alternate Text (sometimes shortened to alt text) should always be added for every image, as it is essential for making the website accessible for visitors with disabilities. Alt text describes the image for people who can’t see it. In this field, describe what can be seen in the image in the most literal way possible. People who can see the image will not see the alt text. Read more about alt text.
Focal Points
The focal point is the most important part of the image—the part that should never get cropped out.
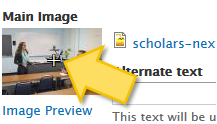
The focal point is marked with small crosshairs on the preview image.
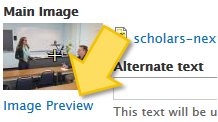
You can click anywhere on the preview to move the focal point to that spot. Click and drag is also possible, but it works less reliably.


